Thursday, October 18, 2012

Printables!

Don't you just love to print something fabulous out, at home, for free? Yep, me too :) From a cute art print, to cupcake toppers, to bookmarks, to things for any holiday - this site has it all! 


Here are some of my favorites, linked back to their original sites


Monday, October 15, 2012

{Master Bedroom Curtains on a Shoestring}

Paneled Curtains


So, I have these huge ceilings - which I TOTALLY love! - but I haven't been able to find curtains that are long enough and still anywhere near my budget. It was time to get crafty. I already had some white sheers I had used to "screen" in my porch when I live in the apartment (which was quite awhile ago, they were pretty wrinkled when I unpacked them. 

Enter my hero: Target Clearance! I bought two of these shower curtains (which were the same sheen as the sheers I already had) for a brilliant $4.98 apiece.


I began by cutting the first curtain into three even pieces.


Then I ironed where I would be creating seams - because I don't "love" sewing, this makes my job SO much simpler!


The most complicated part was probably pinning it on - it took me a minute to see what I was doing. You will pin the right sides together, and you want to make sure you will be sewing ABOVE the seam on the curtain (or you will be doing what I did, more on this in a minute). 


The shower curtain was longer than my sheer, so I just cut it off where it needed to end and then pressed the future seam in place. When I went to sew I sewed all of the "hems" first and then did the attachment to the panel. 


Then I sewed the first seam. This seam would have been the only one, except I wasn't consistently above the hem on the sheer. Insert heavy sigh here.


Because of my "mistake" I had to go back through and sew over the top of the newly added piece. This actually gave it a more "finished" look which I was pretty happy with.


Here is the finished work - I tried to take pictures of the whole window, but they turned out so dark. I love it when the curtains puddle on the floor like that. Perfection!


Faux Roman Shade that Costs Next to Nothing

The other window in my bedroom is pretty small, only about twenty inches wide, but just as long as the other. I had seen this idea on Pinterest (which, of course, I didn't pin, so if anyone recognizes this please pass along the original site!)

I didn't want to overwhelm the tiny window with a long, bulky curtain, so I thought I would copy that idea I saw and make my own Roman Shade out of the existing mini-blind. This is seriously easy and perfect for a renter with terrible window coverings!

Start by measuring VERY SPECIFICALLY! The piece really needs to fit perfect, so measure twice, cut once :) 


Then cut out your fabric and finish all four sides. My shower curtain was actually long enough for my window, so I only had to finish one side.


You'll need some paper clips - this is a box of misc paper clips that was on my grandfathers desk FOREVER.

After sewing you'll simply attach the panel you've just made to your mini-blind. It really is as simple as that! I attached the fabric on every fifth blind piece with paper clips on both sides. 


That was easy right? Now comes a little more complicated part. I used the shower hook holes to thread paper clips through like this (across the top). 


Then I pulled them open like this. 


I did that so they would stay when I pushed them between the top of the mini-blind and the top of the window frame. It really did work like a charm!


The finish project!


Tips for this Project

1. Take the wand off of the mini-blind before starting. You won't be using it anymore, but the curtain won't work with it still on there. 

2. Pull the cord through one of the button holes OR cut a tiny hole (which you could sew up in you were so inclined, in the top of the panel for the cords to come through. 

3. Iron the whole thing before you hang it. Mine is wrinkled and it makes me crazy, but I'm too lazy to take it down.

Total Project Cost: $10.71


Tuesday, October 2, 2012

Halloween Will Soon Be Here ...

... ghosts and goblins will appear.

I learned to play that song on the piano - it may have been the start of my love of Halloween. Halloween is an excuse to dress up in a crazy outfit, eat lots of candy, 
and really play into your spooky side!!

For now I'll be keeping my costume a secret :) But it'll be pretty grand when it all comes together.

I made a quick stop at Target tonight to pick up some essentials and I'll hopefully run into the dollar store tomorrow for everything else I need to make this a Spook-tacular holiday! However, I'm really going to try and spend less than $20 on these decorations because I'm trying to budget (insert hysterical laughter here).


Here are my decorating plans


Front Door Area


These bats are grand! Now, I could have found a stencil online, traced them all, cut all of those little critters out and then glued them up. I would have bought black paper so it still wouldn't have been free. Instead I bought a package of 35 foam bats (probably for craft projects) at Target for.
               $5.00


This source said they used vinyl for windows for our little spooky friend - but someone on Pinterest said you could use Glad Press and Seal to create the same look. I didn't have any (for most projects, Saran Wrap works just as well), so I had to buy some. 
$3.00


This is spooky and would hold up to some winds (which we get here in Montrose) as well as weather. Plus, you are using a trash bag! Mine were all white, but I was able to borrow one from my parents :) Excited to see how this turns out!
FREE


Spooky! I have lots of paper bags and those battery operated candles, so I can see this happening!        FREE         

To me, birds are about the freakiest animal out there! I love that branch with the birds and want to copy it. However, I don't have the $$ for "faux" birds ... so I'm thinking cardboard spray painted black will have to do ... now I'll just have to see what I can use for a planter. I could probably even do this inside.
FREE

Outdoor Decorations


Spooky eyes for the bushes? I think so!! Since I now live right in town I'm expecting some trick or treaters ... I won't be home Halloween night because I'll be at Fall Festival (a Halloween Carnival at my church), but there still needs to be something fabulous for the kiddos to enjoy! 
 I'm going to do 4 of these in different colors.
                                                              $2.00


I'll be asking to borrow a wheel barrel and some digging tools (not to mention dirt, good thing my parents live on a big pile of it, lol), which leaves me to purchase either a skeleton or a bag of bones. I'm hoping to pick this up at the dollar store.
$1.00?

In The House

I'm looking forward to decorating my mantel for the holiday. Speaking of Mantels, have you been over to 52mantels? They are AWESOME!


I love this banner and I know I have everything to make it here at home. I'm also thinking that those running mice would look cute on the baseboards in my hallway :)
FREE


So this post will grow as I find more ideas I just can't live without doing ... for now my shopping list reads: Skelleton or Bag of Bones and Fake Blood (I always make at least one window look like a murder scene with some caution tape, bloody handprints, and a bloody cleaver).

The Details - Not to Miss

Lighting is terribly important. Since I won't be home, I can't leave the porch light on - so I'll use LOTS of flickering battery operated candles to light up the porch. 

Sounds. A haunted house sounds haunted! Luckily I have LOTS of halloween music and sounds that I'm going to load onto an old iPod and play by the front window for everyone to hear!

Touch. Lots of ickys are needed. Thinned out spider webs that you walk through without realizing, sticky fake blood on pathway, branches that are hanging into where you walk.

Taste isn't exactly something you can do anything with ... I'm not sure about Smell either, maybe cold (like dry ice) or that dusty/musty smell? How would I capture that? 

Monday, October 1, 2012

Proud Member of ...

So, a cute little envelope showed up in the mail ...


I didn't know what it was ... so I tore into it ...


It is my membership card! I'm now a Member of Anthro, the Anthropologie Fan Club :) 


Maybe you didn't know, but I LOVE Anthropologie. Everything they have, I want! Sometimes there are some Anthro hacks that I take advantage of because my poor pocketbook cannot always afford everything I "need" from the website :)

You can become a member too and enjoy great benefits! Go to their website and sign up!


Sunday, September 30, 2012

A Pinterest Project: Artwork

A few months ago I found this great tutorial for some homemade wall art from Southern Belle Soul, Mountain Bride Heart - which was an idea from A Beautiful Mess (which is what made me fall in love with their site to begin with).  

Anyway, they inspired me to create something great out of an old piece of art. Enter Yard Sales.

Maybe you remember when I bought this painting about a month ago. It was a grand seventy-five cents and isn't really fine art. But I thought it'd do.

Supplies Needed:
A Painting
Repositionable Letters
Can of Spray Paint

Step 1. Get a Piece of art you don't mind painting over.


Step 2. Using sticky, repositionable letters, write out your quote of choice. I had to buy two packages for enough vowels - so plan accordingly. 
Caution: Make sure the letters are pretty even if you think that things being out of whack may bother you. 


Step 3. Prepare your painting area. I used a throw away drop cloth on my porch.

Step 4. Give the painting an even coat all over. Depending on the color paint you choose and what you are covering, you may need more than one coat - but that was all I needed here.


Step 5. Wait until paint is at least semi-dry. I was much too anxious to wait for it to dry all of the way - so I pealed them off before everything was all of the way dry.


Step 5b. I used a tweezers to pull the letters off - this was good to keep my fingers paint free and to not damage any paint.


Step 6. Save the letters - they are still plenty sticky and can be reused.


Step 7. Enjoy your finished project! Glee!!


Sunday, September 23, 2012

Guest bath is nearing completion

It isn't done yet, but so many of my projects are up in the air that I wanted to post something!

My guest bath is the newest home to all of my fabulous Hello Kitty paraphernalia and other childhood treasures. Most of these things I've used in my bathroom in the past - but being a grown up made me think I needed a more mature bathroom space ... lol, who am I kidding, I just wanted to show everything off of all of the people who visit my house!!

The only thing missing is the chalkboard wall that will go on the unpainted space. I might jazz it up with some pink hearts around the outside to make it feel a little less "black" ... but I'm undecided. What do you think? Would you have trouble using this bathroom??

Guest Bath Pre-fabulization

See the Fabulization after the jump!

Sneak Peak at the House

Obviously moving in takes more than a week and a half ... there is still almost nothing on the walls, I finally have one set of curtains hung, and it was almost a week before I was showering in my bathroom. However, unpacking all of my missed treasures and seeing how I want to display them in a new space is always fun and exciting! I don't want to show it off until it is closer to coming together, however I do want to let you have a look at what I've been working on! 


Unpacking boxes ... all my childhood treasures!


New shower curtain :)


Slowly organizing the bathroom


An early look at the living room space.


Doing laundry before I had a place to hang everything.


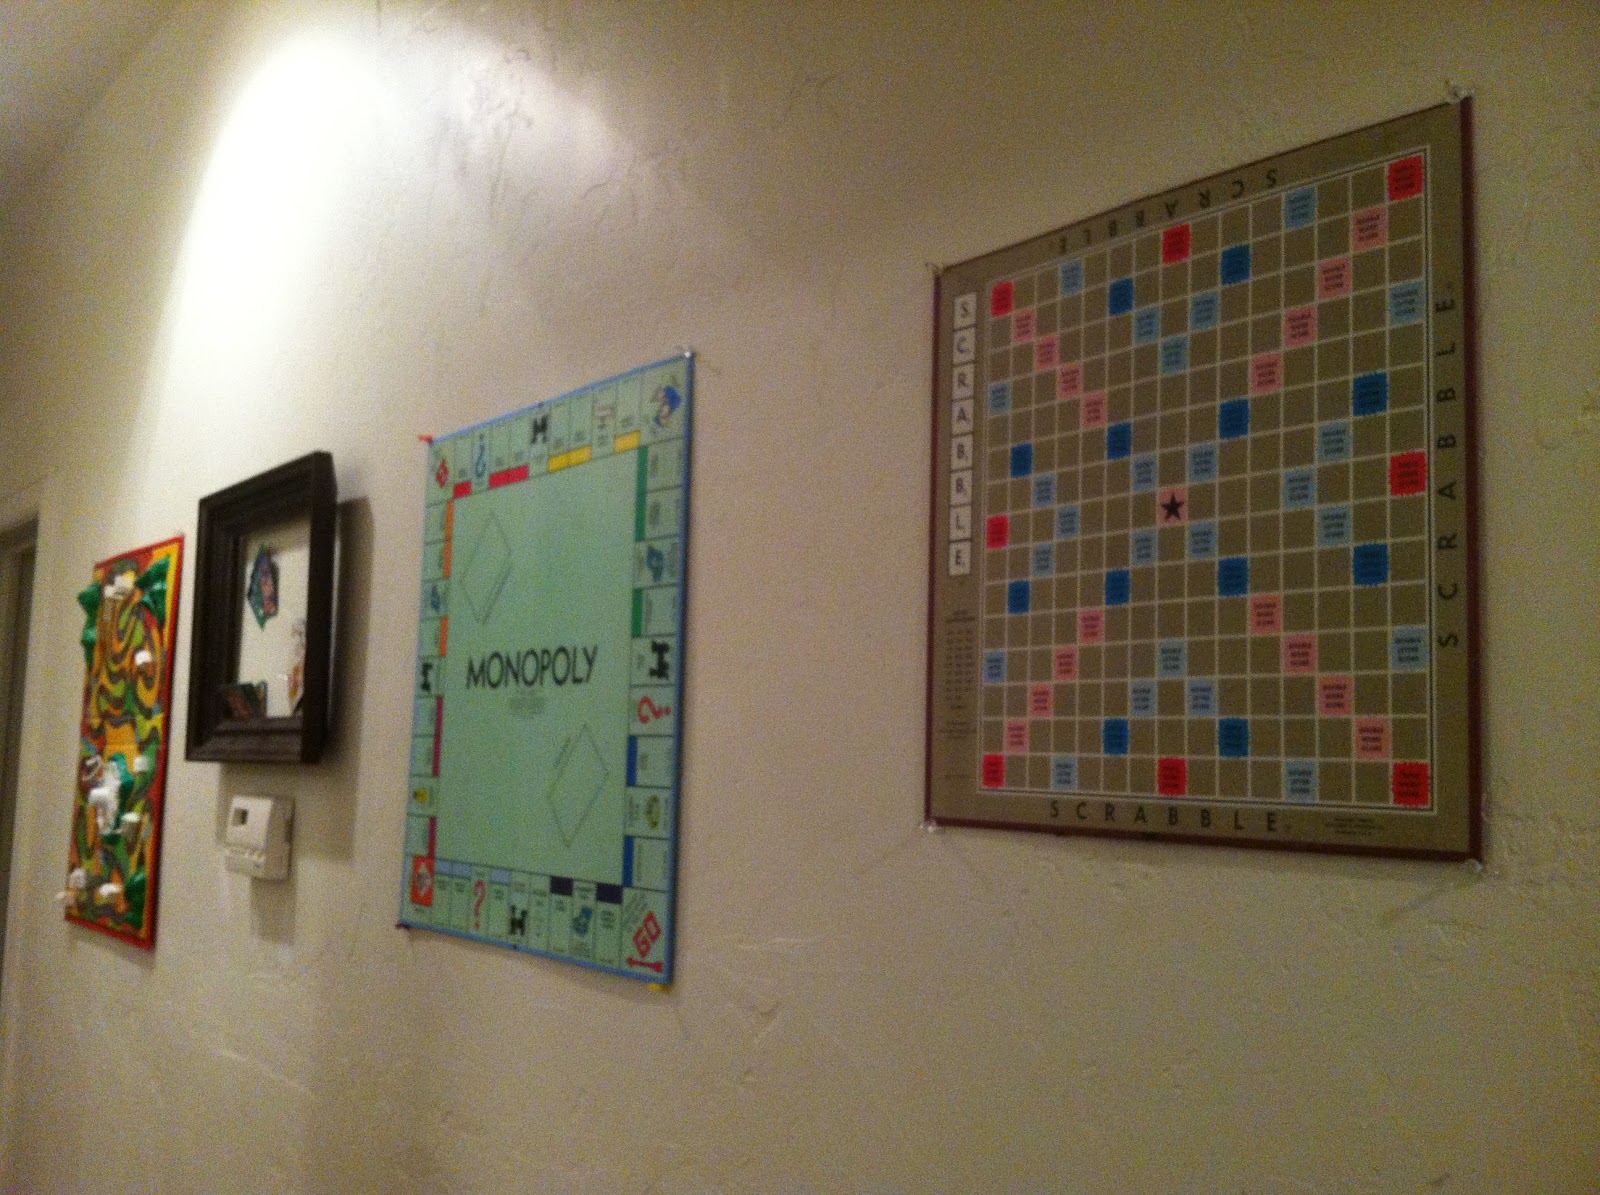
Hanging games in the hallway


Zac in his new room


The finished mantle space ... which will look way better when the walls are painted!!